To add static pages such as “About Me” or “Contact” to the menu, first make sure that you have those pages already published on our blog. For more help on how to create static pages, or add labels to a post, check the tutorials below:
How to Add Pages to the Menu
1. Edit the “Pages” gadget
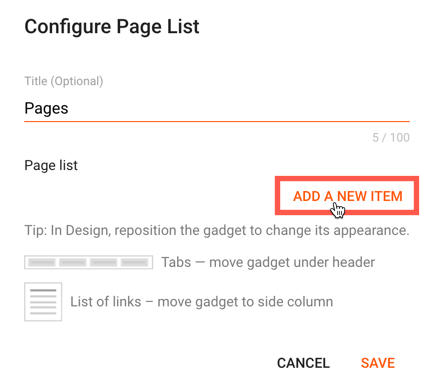
Go to ‘Layout’ > click ‘Edit’ on the Pages/Menu Links gadget.

2. To add a label or category as a single tab (without submenu), click ADD A NEW ITEM.
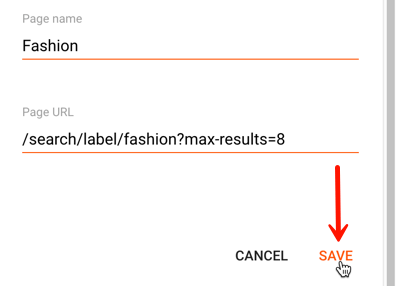
3. Fill out the fields as explained below:
- Page name – type the title of the tab exactly as you want it to appear in the menu
- Page URL – add the following link structure in the field: /search/label/LabelName?max-results=8
Note: Replace LabelName with the name of your label and make sure to type it exactly the same way as the label in your post. For example, if the label is written with lowercase letters (e.g. fashion) and the label in the menu is written differently (Fashion or FASHION), Blogger will not recognize it and no posts will appear in the label page when clicking the tab.
4. After filling out the fields, click on the SAVE link.
Creating a Subpage (Drop-Down Menu)
1. To add subpage or drop-down menu, click on the ADD A NEW ITEM text.
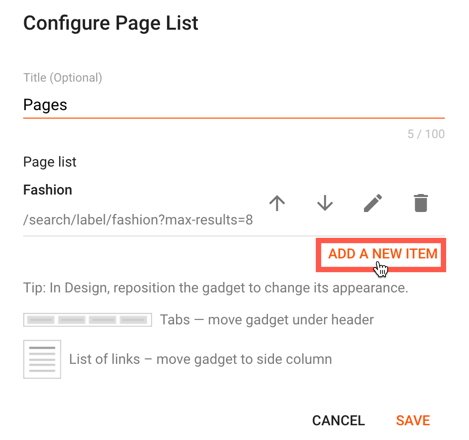
2. Fill out the fields as explained below:
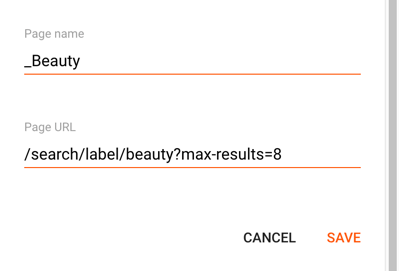
- Page name – type the title of the tab exactly as you want it to appear in the menu and add one underscore _ in front of it. The underscore will not be visible in the menu.
- Page URL – Add the link (it can be the link to a static page, a label page or to another website).
This is how it should look like after filling out the fields:
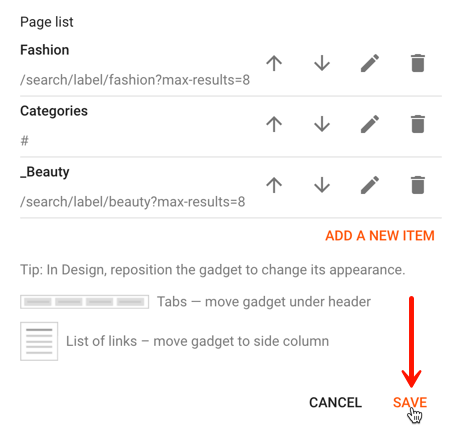
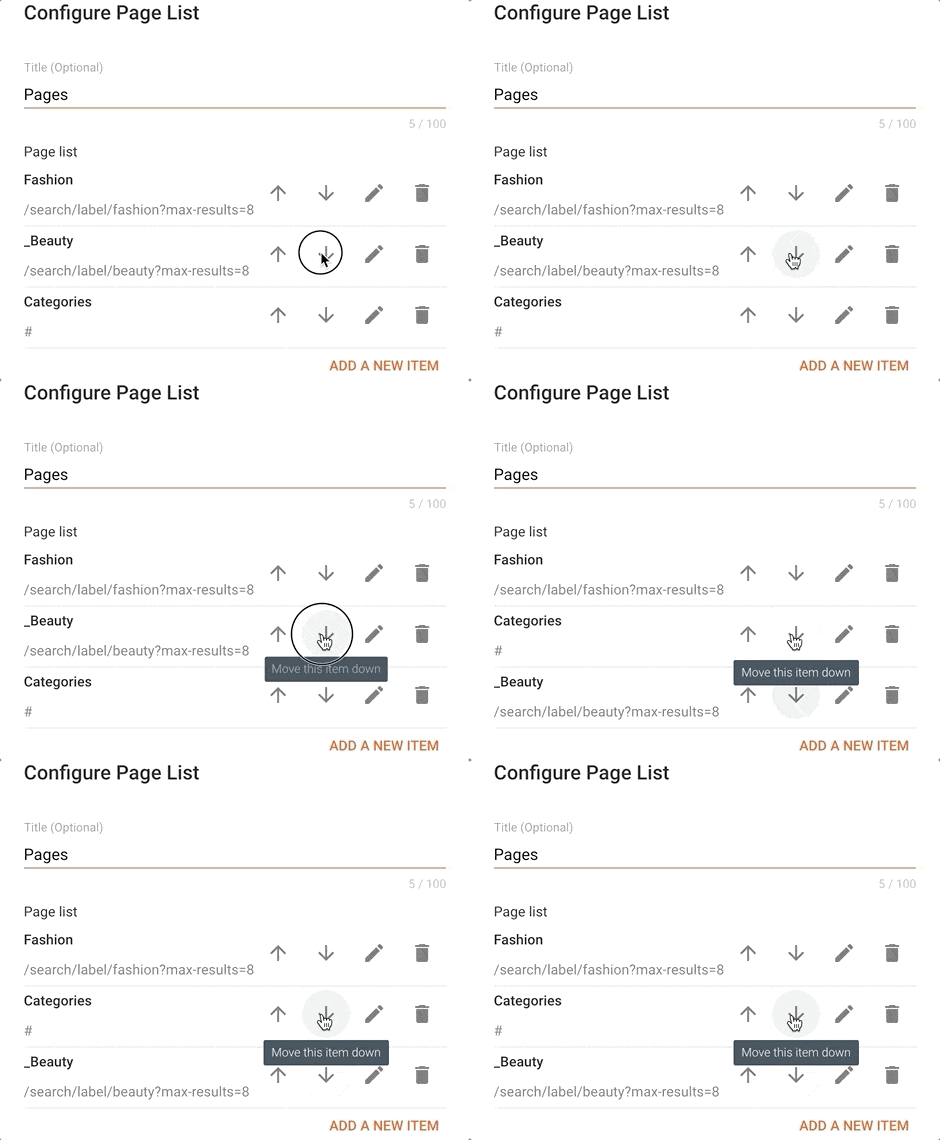
3. Click SAVE and you should see the pages added on the list. To show the subpage under a specific tab (eg. Categories), click on the up/down arrow to move the text with the underscore “_” right below the page you want to appear on mouseover.
4. Once you have finished adding all the pages, click SAVE at the end of the window and you are all set!
