If you are creating your MailChimp account for the first time and need a bit of help, follow the tutorial below:
Getting Started with MailChimp
- Go to mailchimp.com and click on the “Sign Up Free” button on the upper right side.
- Type your Email, choose a Username and insert a Password.
- Check the email you provided and click “Activate Account“.
- On the MailChimp page, click on the “I’m Not a Robot” button.
- Select your plan and click “Next”, then enter your name and site name on the next page. You will also need to add an address – this will be listed below each email you send as the anti-spam protection.
- If you previously used another mailing service, you can import your contacts, otherwise select “No“. Click “Continue“.
- When the account is all set up, you can create your widget.
Create a MailChimp Widget
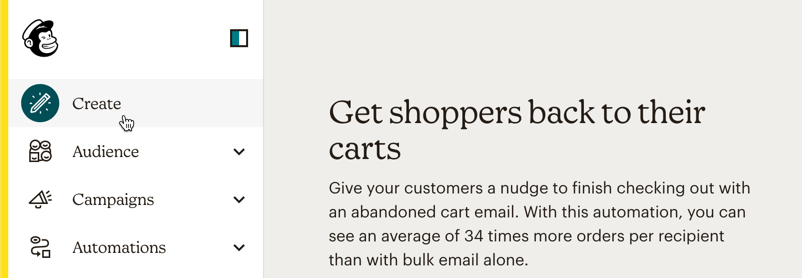
- Go to your MailChimp dashboard > click on the “Create” icon located on the left side.
- Click on “Signup Form” and select “Embedded form”. Click the “Begin“ button on the right side.

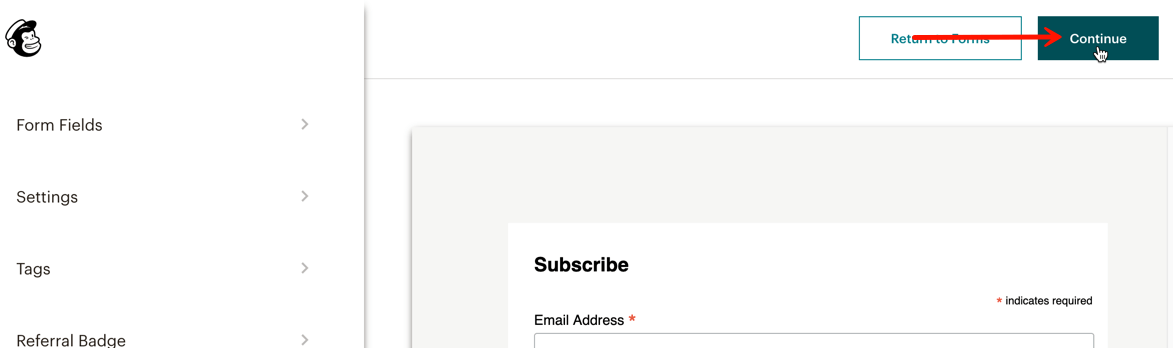
- Click on the Continue button.
- Scroll down the code area and locate the line that starts with
<form action=" - Then follow the tutorial on How to Set up the Email Subscribe Widget.